Devlog 2: Importing
In this devlog, we were tasked with exporting and importing the models we made in Blender into Unity.
Unity has the ability to import various model files including .blend(Blender files) and .FBX(Filmbox files). For this task we exported our models from Blender to .FBX files and imported them into Unity which could be done in a number of different ways. By dragging the file into Unity's project window, copying the file into the 'Assets' folder or by clicking on the 'Assets' menu and selecting 'Import New Asset...'.
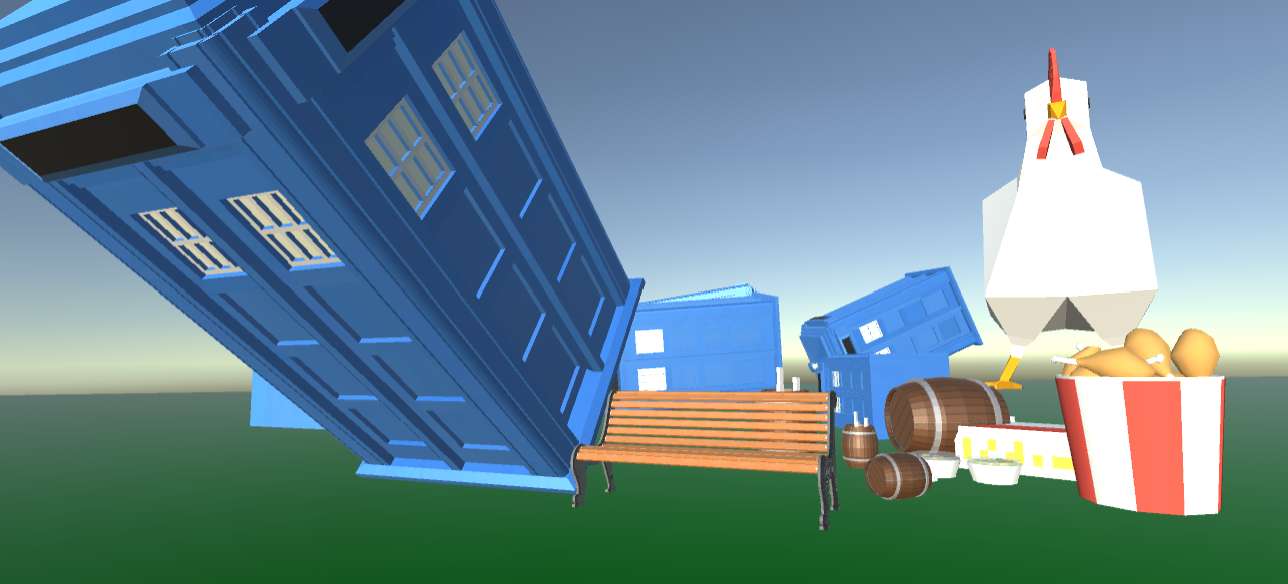
When the models were initially imported, they had no textures/materials applied to them. They just appear as grey models when you tried to display them in the Scene window. To display the textures/materials, you needed to add the textures/materials to the model that you imported. Some models have the textures/materials embedded as part off the file you imported. If this is the case, Unity can extract the textures/materials by selecting 'Extract Textures...' or 'Extract Materials..' from the models 'Materials' tab in the 'Inspector ' window. The .FBX files that we exported from Blender can contain texture/material files but only if you select an option to export the file with them (which is off by default). For some reason, no matter what I did, the exported .FBX file for the barrel did not want to import the textures properly. To fix this, I had to save the texture file separately and then import them into Blender. This was not an issue though when importing the model for the Tardis. For some more practice importing files into Unity, we had to find some free assets online, download them, and import them. This was pretty straight forward. Some of the models had different extensions (.obj for example), so when they were imported, slightly different thing had to be done to get any textures/materials that came with them working. A quick google search usually revealed what to do. The end result is below.

(Chicken from: https://poly.pizza/m/1YE8U35HXsI, KFC from: https://poly.pizza/m/9pe_X5-MERz, Bench from: https://3dwarehouse.sketchup.com/model/u32843803-8dec-4f6f-bcb4-8b84e2178f77/%D0...)
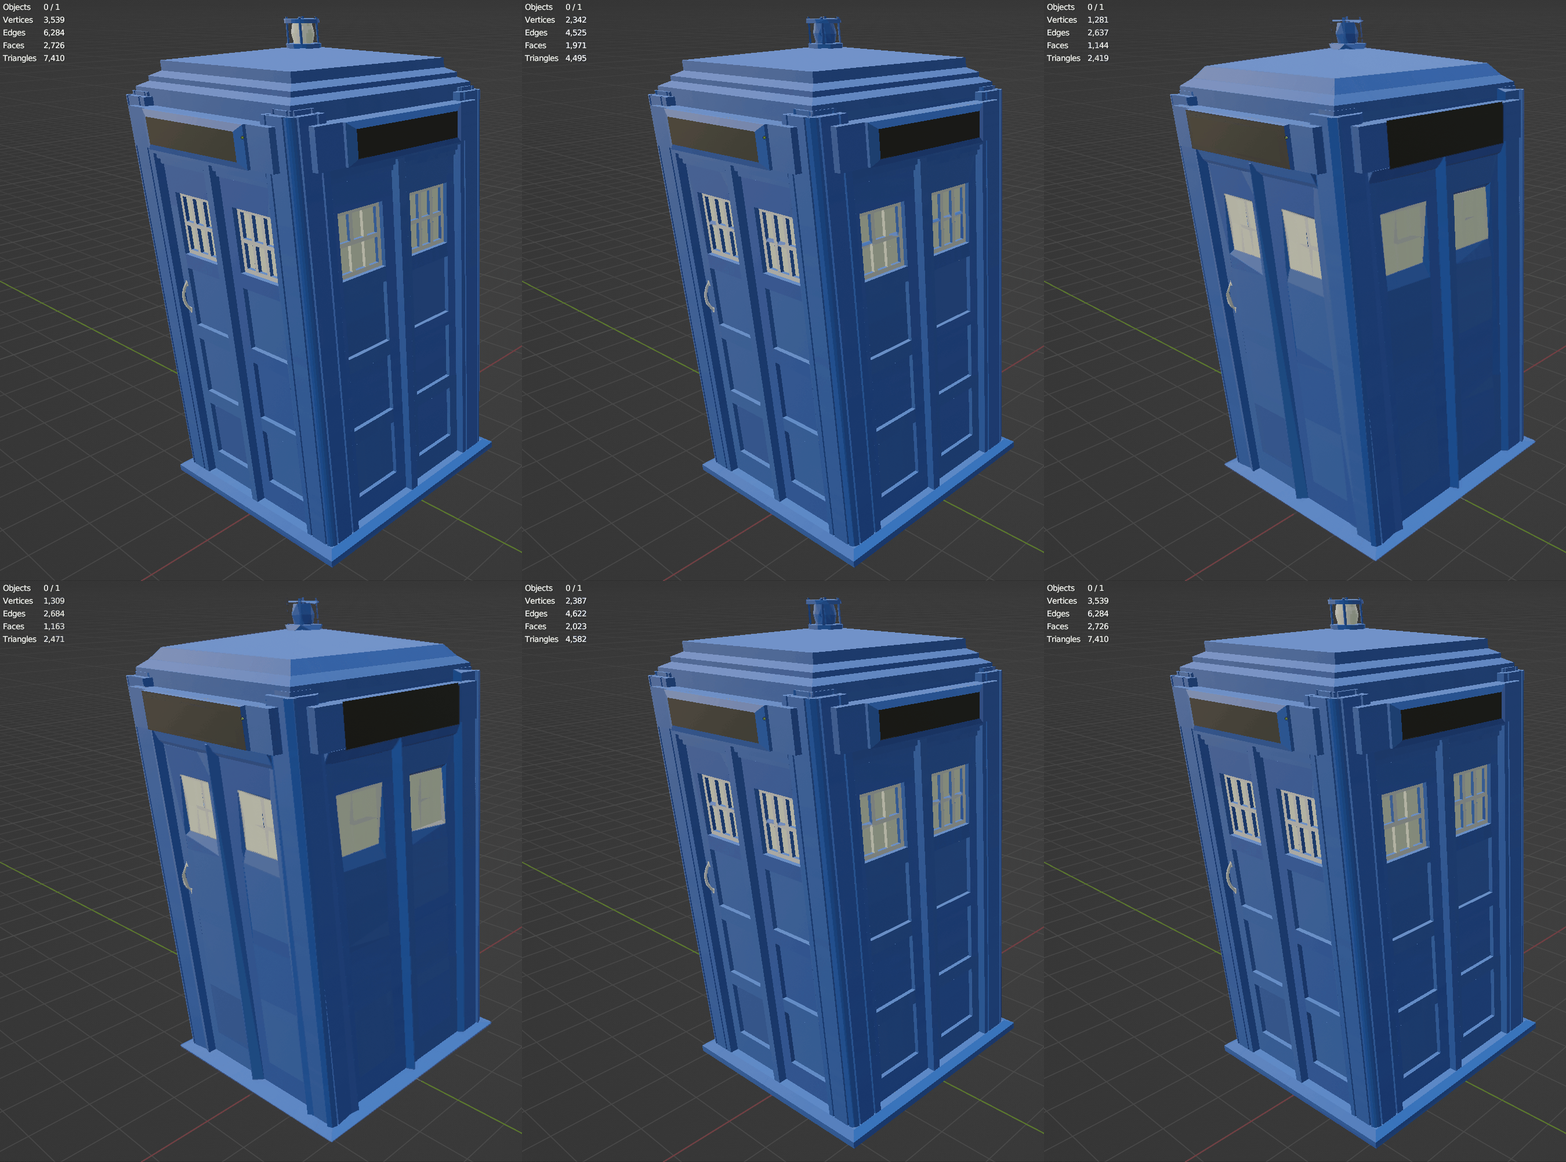
We also tried using some new features in Blender. The 'bevel' tool can be used to add rounded edges to an object (notice in the picture above and GIF below that the corner posts of the Tardis has its edges rounded). The 'subdivision surfaces' modifier can be used to increase the polygon count of an object (e.g. to make a round object seem more smooth or round) and the 'decimate' modifier (which is essentially the opposite of subdivision surfaces) removes polygons from an object which resulted in a somewhat janky looking blue box.

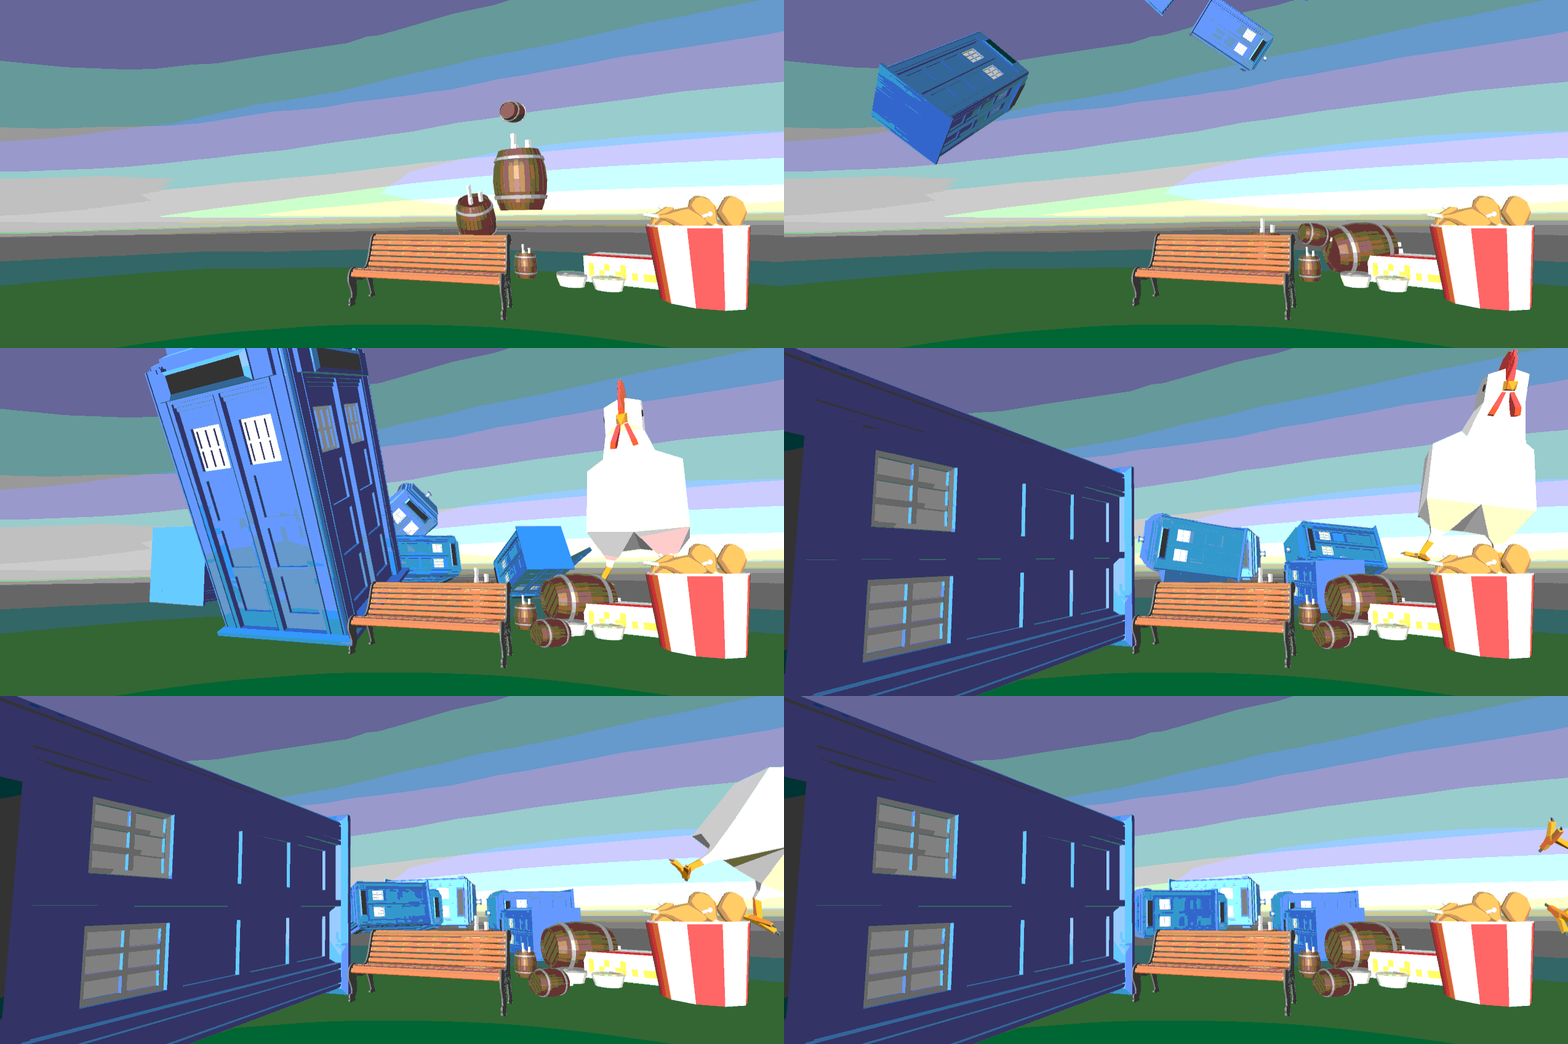
We also took this opportunity to refamiliarise ourselves with Unity by creating and modifying prefabs and by adding colliders and rigidbody's to objects. This resulted in the somewhat chaotic scene below. (sorry for the bad quality)

UTAS KIT207 - Portfolio
A collection of posts as part of KIT207 University Course
More posts
- Devlog 10: Cinemachine and Post ProcessingAug 18, 2022
- Devlog 9: Shadergraphing and LightingAug 16, 2022
- Devlog 8: Game IdeasAug 09, 2022
- Devlog 7: Simple Game [UPDATED]Aug 09, 2022
- Devlog 6: NavigationAug 09, 2022
- Devlog 5: Terrain and ProBuilderAug 02, 2022
- Devlog 4: Unity and Im/Ex-porting AnimationsJul 28, 2022
- Devlog 3: Bone-imationJul 26, 2022
- Devlog 1: Blender-ing?Jul 19, 2022
Leave a comment
Log in with itch.io to leave a comment.