Devlog 9: Shadergraphing and Lighting
For this devlog, we dove into the world of lighting and custom shaders.
Lighting
Lighting as the name suggests is the way that we light up a scene. In Unity, lighting is generally done in 1 of 2 ways, either in real time, or at build-time. For real time lighting, the lighting calculations need to be done in constantly on the spot, so every step the character takes or every time the frame updates, Unity needs to calculate the lighting for the scene. The disadvantage to this is that the lighting calculations need to be fast to keep up with the ever evolving scene and as a result, they generally aren't as precise. On the other hand, baked lighting (lighting calculated at build time) can be of higher quality as it only needs to be calculated once at the start of the build. The downside to this is that baked lighting can only be used on objects that are static or stationary in your scene. As the lighting is only calculated once at the start, any movement of objects that the light is baked onto wont be recalculated until it is built again.
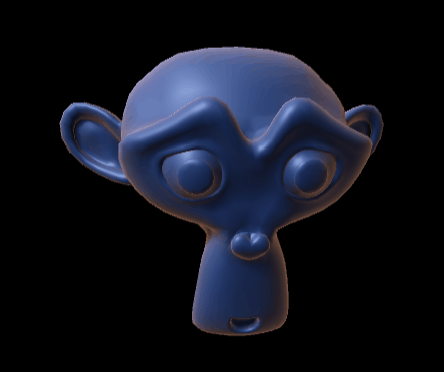
To gain an understanding of how to use lighting in Unity, we followed a tutorial where we created a basic scene where there was a object and 2 light sources, one on either side of it.
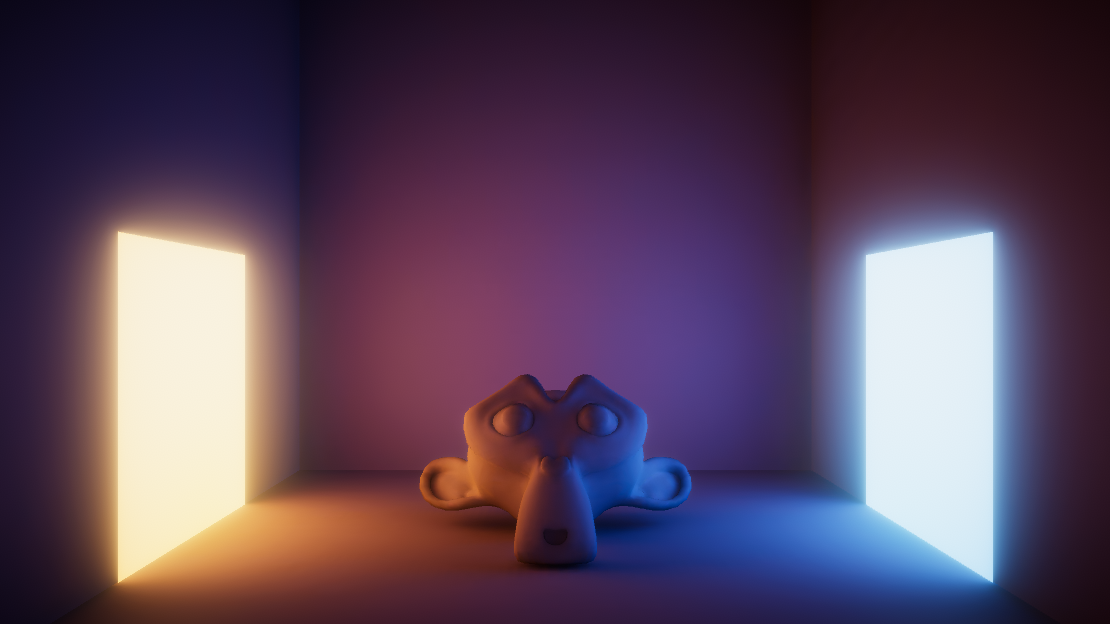
(Finished product after following the tutorial)
From above, we can see how Unity has calculated the lighting for the scene. The blue and orange light panels project the light onto the monkey as well as onto the rest of the room. You can also see how the room isn't uniformly coloured. This is because when Unity calculates the light, it takes into account where the light would bounce after hitting its initial target. When calculating where the light will bounce, Unity can also take into account how obstructed a section of a model is from the light sources. This produces areas of less light (or even shadows). This can be called Ambient Occlusion (or at least that's my understanding of it).
When Unity was calculating the lights for the scene above, you could see the 'steps' it took to reach the end product. These appeared as blotchy coloured patches.
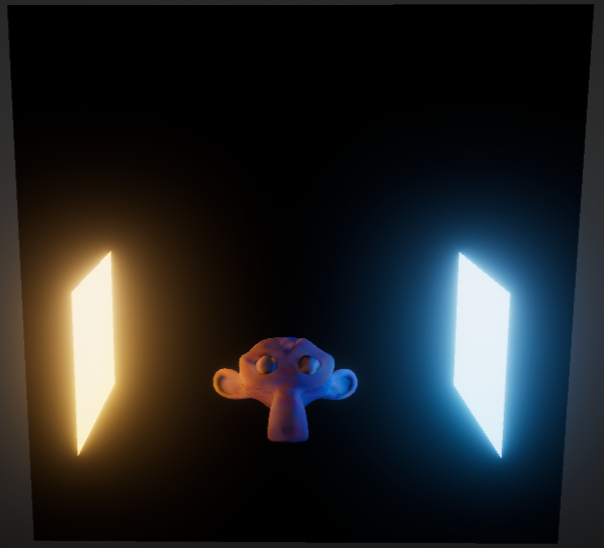
(Calculating light on model)
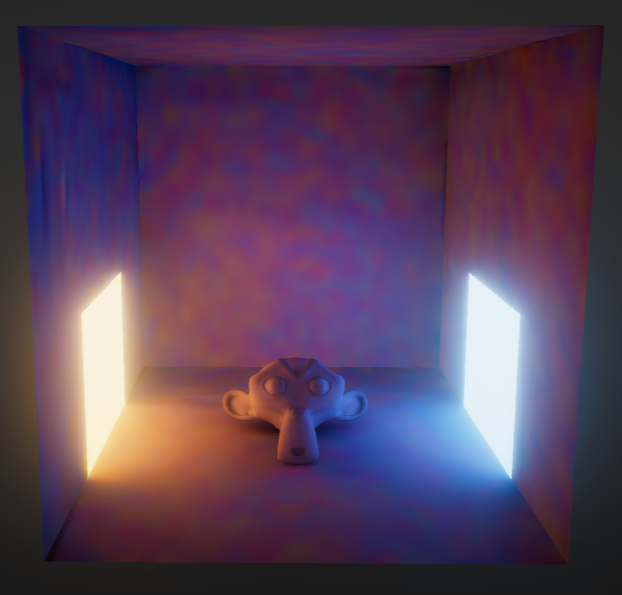
(Calculating light in box)
The entire process to calculate the light for the scene took around 30 seconds. Throughout the calculation duration you could see the details of the lighting getting better and better. If it took 30 seconds to calculate the lighting for this small scene, imagine how long it would take to calculate the lighting for a full scene in a video game. This goes to show how complicated calculating lighting can be.
Shadergraph
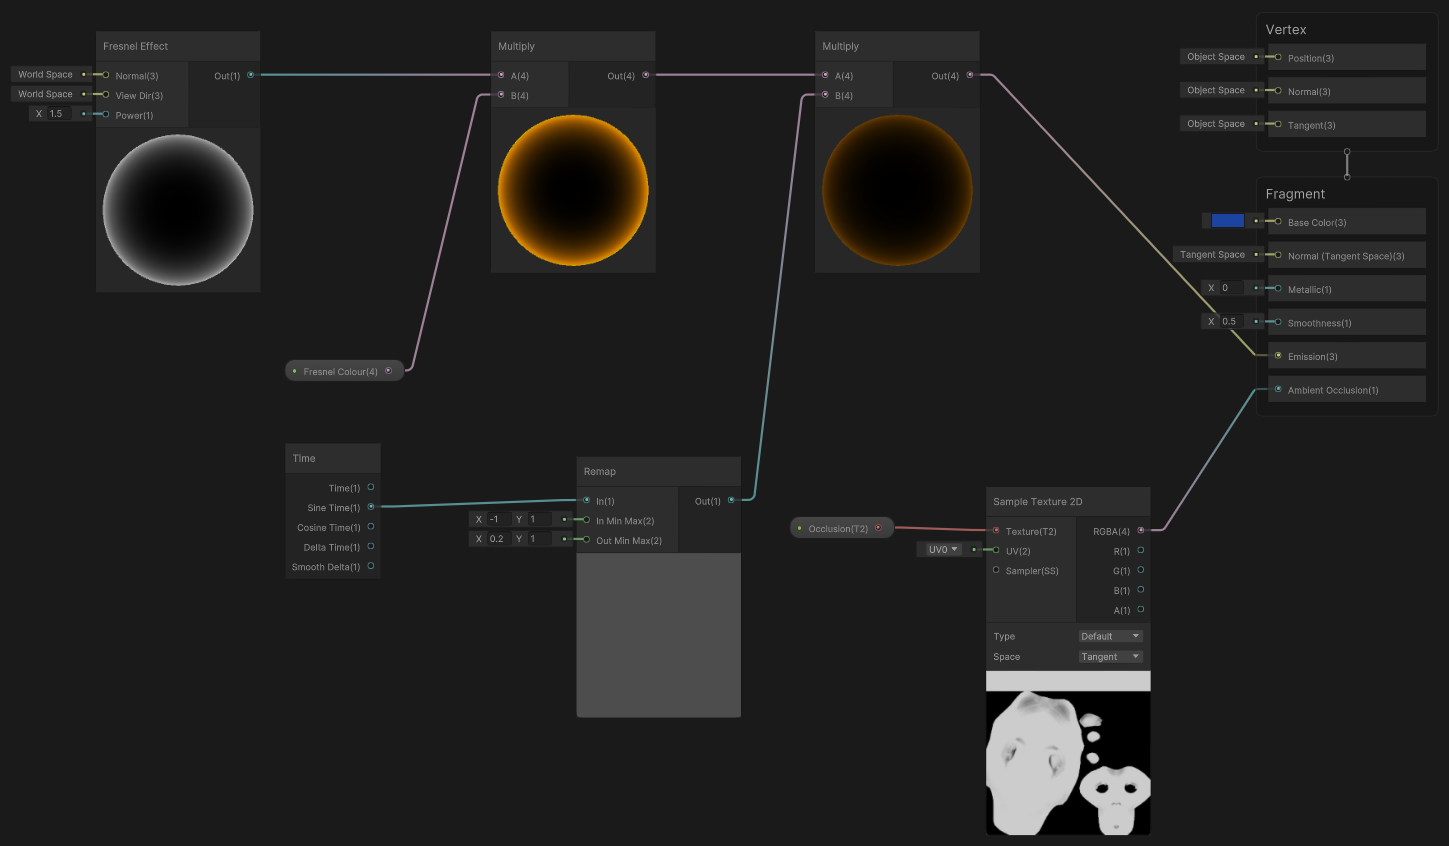
Shadergraph is a tool in Unity that allows you to add custom shaders (or surface renders) to objects. These can work to add more realism to a scene or to add some special effects. Shadergraph is a large powerful tool and to learn the basics of it, we followed another tutorial to create a simple shader.
(Fresnel shader applied to an object)
To create shaders, you used to have to write custom code to get the result you want, but with shadergraph, there is a graphical interface that you can use to create these custom shaders. You simply need to create nodes from the menu, enter the setting you want and connect them togeather to get the result you want.
(Example of a shader in shadergraph)
The fresnel effect used above applies a glow (or traditionally a reflection) around the edges of the object. In the shader above, you can see the fresnel effect being applied at the top left corner, then a colour being added next, then a time node being added in (which makes the glow come in and out) before being added to the emission of the object. There is also an ambient occlusion texture map being added in at the bottom right.
Once we were familiar with shadergraph, it was time to add some lighting and shaders to our scene.
To start with I decided to add in a dissolve effect to the health packs in my scene. This would have the effect of the health pack almost dissolving out of existence and then back in. In addition to that I decided to add a revolving mesh-like barrier around the hearts to make them stand out a little more.
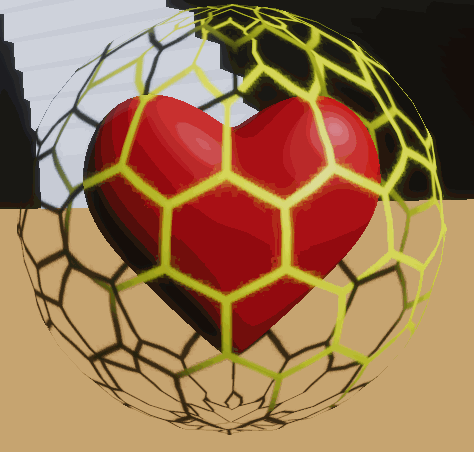
(Health pack with 2 different shaders applied)
I then wanted to add in a spawn like effect on the enemy agents when they were instantiated, however I didn't manage to work out how to make the shader only work apply once when they spawned in so I forwent that effect.
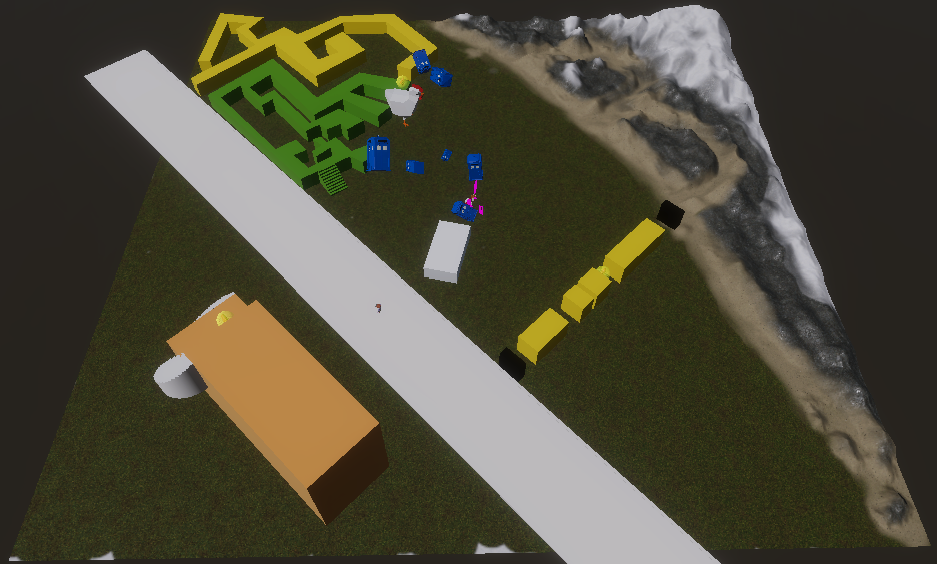
We then had to apply some lighting to our scene. I ran into some issues here where the objects that were emitting light in my scene had to be extremely powerful to produce any kind of effect. This again I believe was because the scale of my scene is too large. In addition to that, I had to turn down the quality of the generated baked lighting quite a bit as it was going to take an hour to calculate, compared to a few minutes with the much lower setting.
(No/default lighting)

(New Lighting)
In the pictures above, the first thing you notice is the temperature difference of the lighting. The first is much warmer while the second is much cooler giving an almost artificial floodlight kind of feeling. You can also notice that the mountains have a much more pronounced darker side to them. In the scene, the building, the road, the terrain and the maze are all static objects so the baked lighting is applied to them. Your can also notice the enemy agents now have a red real-time glow to them to emphasise how dangerous they are. I also added static light emanating from the door and the windows of the building to give the effect that there are lights on inside the building.

(Building with no lighting)
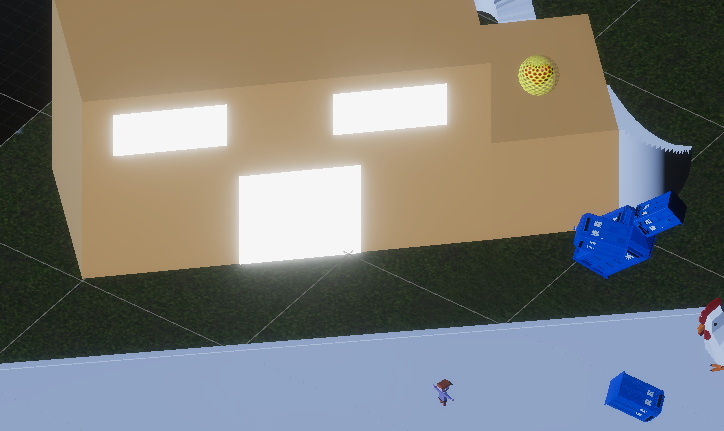
(Building with glow from windows and door)
In the end I believe I could of added more lighting or more shaders to different object in my scene. But as my scenes settings were different to those in the online tutorials, I could not get some of the effects I wanted to work correctly.
Lighting and shading is a big area where there is lots of different thing you can do to improve the overall visual aspect a scene. It is one area where I would benefit from having more practice .
Leave a comment
Log in with itch.io to leave a comment.