Devlog 6: Navigation
This week, we took the environments we made in the previous devlogs and added some navigation to them. (somewhere while completing the coursework for this devlog, Unity decided to delete most of the components for the objects that I created, so you may see some bright magenta objects signifying errors)
Navmesh
A navmesh is a surface that AI characters can use to move around an environment. Basically it adds a layer of walkable areas to the environment that the AI can use for navigation. Navmesh's can be added to a scene by selecting the Navigation option, under AI in the Window menu. The Navigation window has 4 tabs, Agent tab is for defining different types of agents (AI characters) and their movement attributes (such as their height, radius, their step height and the maximum slope angle they can move on). Area's allows you to specify different types of area's (e.g. a muddy area where movement speed is reduced). Bake allows you to bake (or add) a navmesh to your environment and Object allows you to change the navmesh characteristics of the selected object/s. There are 2 main options here. The Navigation Static option is used for game objects that don't move and the Generate OffMeshLinks is used to create links from one mesh to another that the agents can use to navigate from one surface to another.
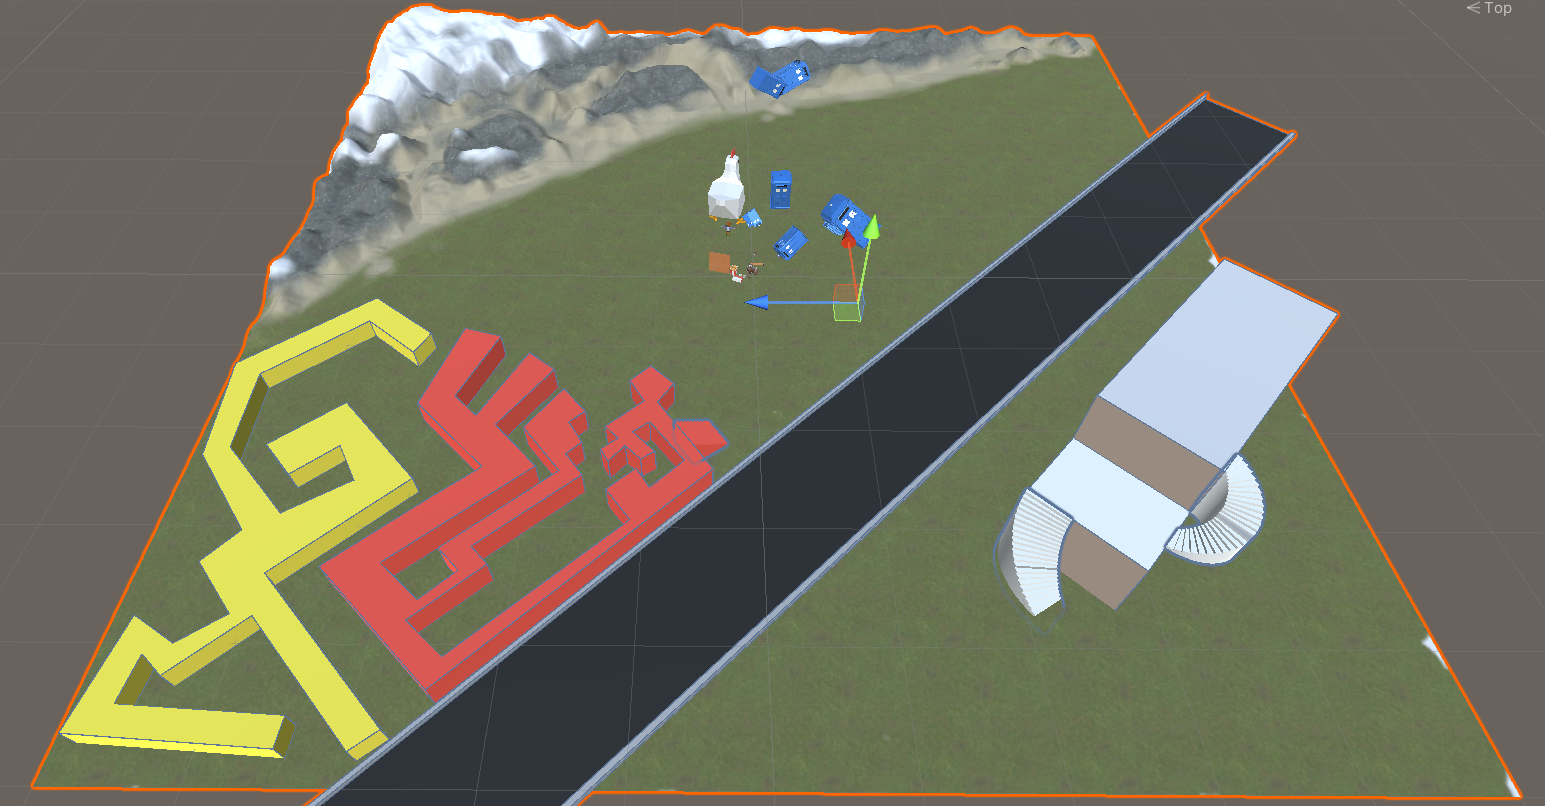
(Scene without Navmesh)
(Scene With Navmesh but no OffMeshLinks)
OffMeshLinks appear as arrows from one surface to another. These can be bi-directional (e.g. jumping across and back over a river) or uni-directional (e.g. jumping down from a platform)

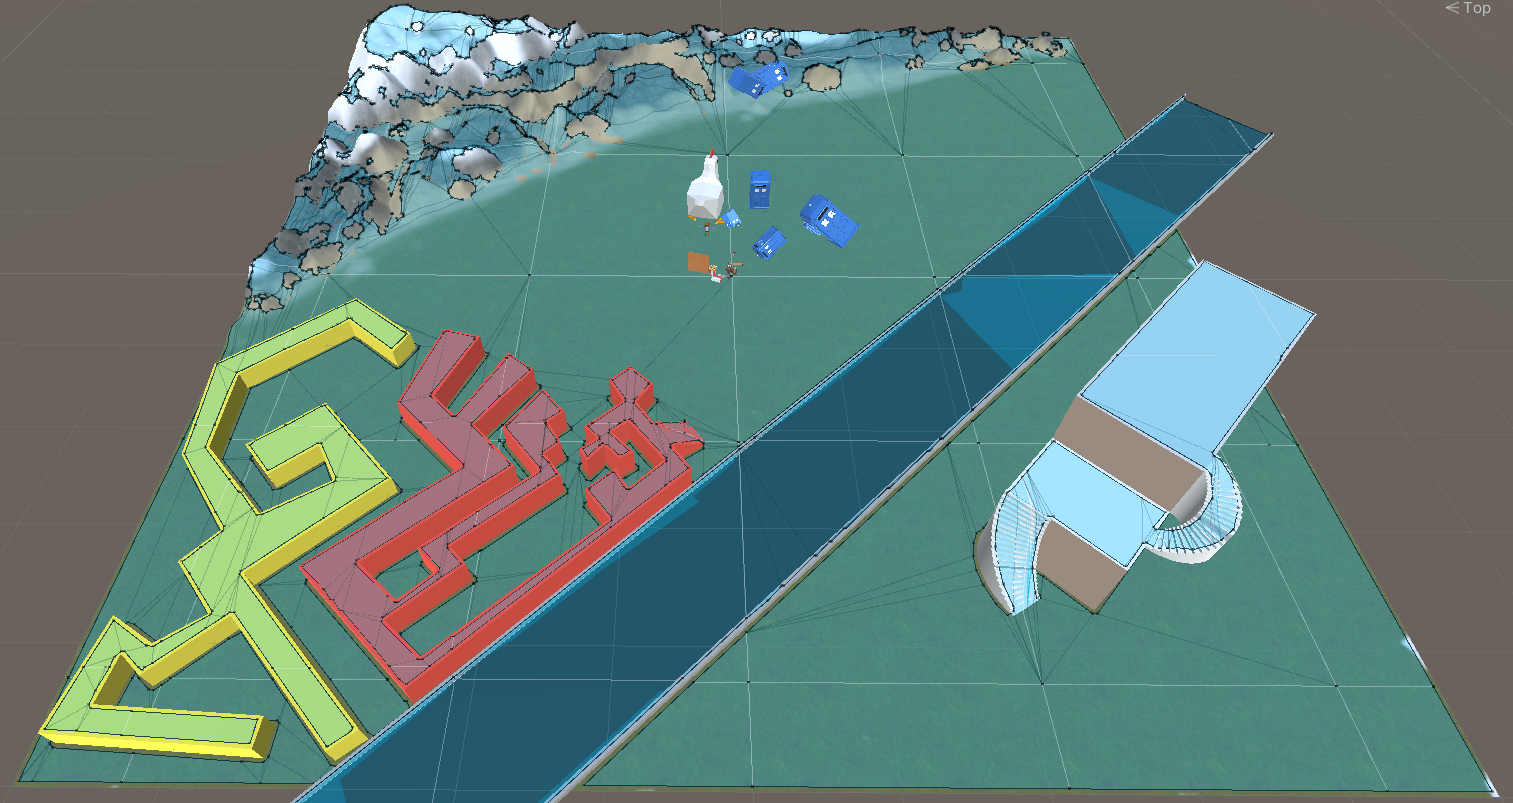
(Scene with Navmesh and OffMeshLinks)

(Closeup of Navmesh and OffMeshLinks)
Raycasting
After generating the navmesh for our scene, our next task was to create an agent that uses Raycasting to determine its destination. Raycasting refers to a special query sent to the physics system in Unity that returns what colliders are within a certain area. A common use for Raycasts is to determine the whereabouts of the mouse cursor when it has been clicked in the world. For example, in FPS games, where the players crosshairs are when the cursor is clicked and the environment/characters that are directly behind it will determine what the bullet hits. In Unity, raycasts use the specified camera and cursor's position in relation to that camera to work out whereabouts in the world the click has occurred. We used a script to connect the raycast up to the agents movement. In the gif below, you will see a pink agent attempt to navigate between moving objects an back again. You will see that he gets stuck on the moving blocks. This is because the path the agent takes is calculated when the mouse is clicked and it uses the positions that the obstacles are in at that point in time to calculate the path. As the obstacles move into the agents path after the mouse is clicked, the agent gets stuck on them. In the gif you will also see a white block that has the 'Nav Mesh Obstacle' component added to it. This component creates an obstacle and designates the area around it unable to be traversed. The falling Tardis's also have the 'Nav Mesh Obstacle' component added to them but they also have the carve option enabled. The carve option cuts a hole in the navmesh based on the size of the object. The Tardis's that land right way up also have the option 'Carve Only Stationary' selected while the others do not. This means the obstacle will only cut a hole in the navmesh when the obstacle is stationary (+/- a movement threshold) for at least x amount of time, rather than when the obstacle comes into contact with the navmesh.
(Nav Mesh Obstacles and Raycast movement)
The last task was to modify the script we created previously so that instead of moving the agent to the clicked location, it should instantiate (create) an enemy agent at that location. This was a simple case of taking the coordinates returned by the raycast and instantiating a new enemy prefab using those coordinates. We then had to create a script that made the agents follow/target the player character. This again was pretty simple as we only needed to set the target location of the enemy agents to the players current location. (This is also where Unity decided it didn't like half my files)
(Enemy agents seeking player)
Finally, as an added challenge, we tried to make the enemy agents 'predict' the movement of the player. In the gif below, the newly instantiated agents don't seek out the exact position of the player, but rather a position in front of it.

(Enemy agents predicting[attempting to] player movement)
As you can see, the prediction script didn't work perfectly but it did allow the enemy agents to somewhat predict where the player was going and aim for that spot.
Raycasting and NavMeshs allow you to complete complex tasks more simply and I can see myself using them in games that I may create in the future.
Leave a comment
Log in with itch.io to leave a comment.