Devlog 10: Cinemachine and Post Processing
In this last devlog, we dove into the topics of post processing and cinemachine.
Cinemachine
Cinemachine is an additional package that you can add to Unity which includes numerous camera features that can help develop the camera behaviour that you desire. After downloading it, the first task for this devlog was to add a cinemachine camera that follows the player around. Now I already had a camera in place that followed the player around, however, (not that you can see it in the gif below) the cinemachine camera gave a smoother feel/look when the character moved.
(Cinemachine camera following player)
It was quite simple to setup the cinemachine camera to follow the player. Basically all we had to do was add a cinemachine camera to the scene, set its follow option to the player and set the look at option to the player as well. Adjust some of the settings to get the position of the camera you liked and that was it. You had a simple camera that would follow the player anywhere.
Then next task was to add another cinemachine camera that would focus on a certain part of the world. I chose the maze structure I created previously. With cinemachine, you have the ability to seamlessly switch between different cameras without having to write a script to handle it. This is thanks to the cameras priority settings and a trigger script that is a part of the cinemachine package. Basically a camera with a higher priority will become the camera that is active. A camera with a lower priority wont be active but if you had 2 cameras with the same priority, it is possible that either of these cameras would be the active camera (leading to inconsistencies). The trigger script can be attached to an object that contains a trigger collider. The script can be set up in the inspector so that when an object with the specified tag enters the trigger area, an action happens (such as increasing the priority of a camera so that it become the active camera) and when the object exits the area, another action occurs (decreasing the cameras priority). This is what I set up in the gif below. When the player approaches the maze, the second camera gets a priority boost so it becomes the active camera and when the player leaves the maze area, the second cameras priority decreases and the first camera becomes the active camera again.

(Cinemachine camera on a dolly)
This second camera was also set up so that it was on a dolly (or a track). This means that the camera can only move along the track that was created for it. The track was created by using another script that comes with cinemachine. It was a simple task of adding waypoints, moving the waypoint to the location you wanted, and repeating the process until you had the track that you wanted. In the images below you can see the dolly path as the bright green line. This path had the loop option checked so that the last waypoint along the path connected up to the first to form a loop.
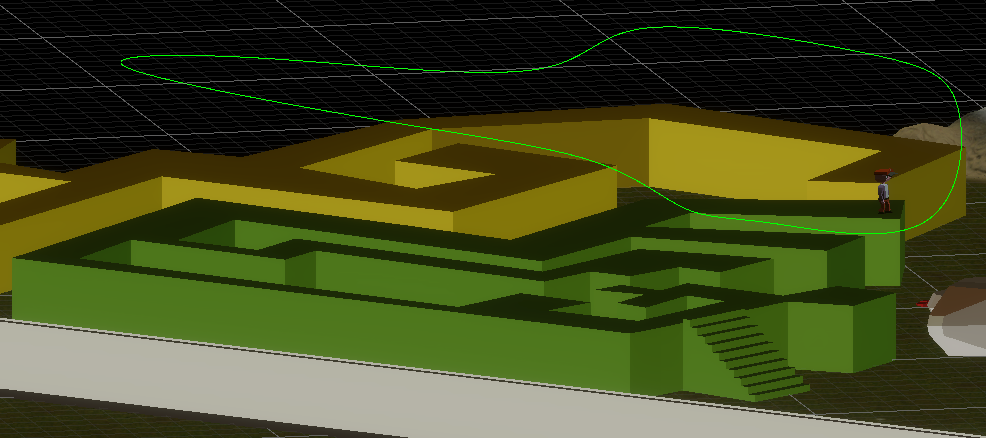
(Dolly Path side view)
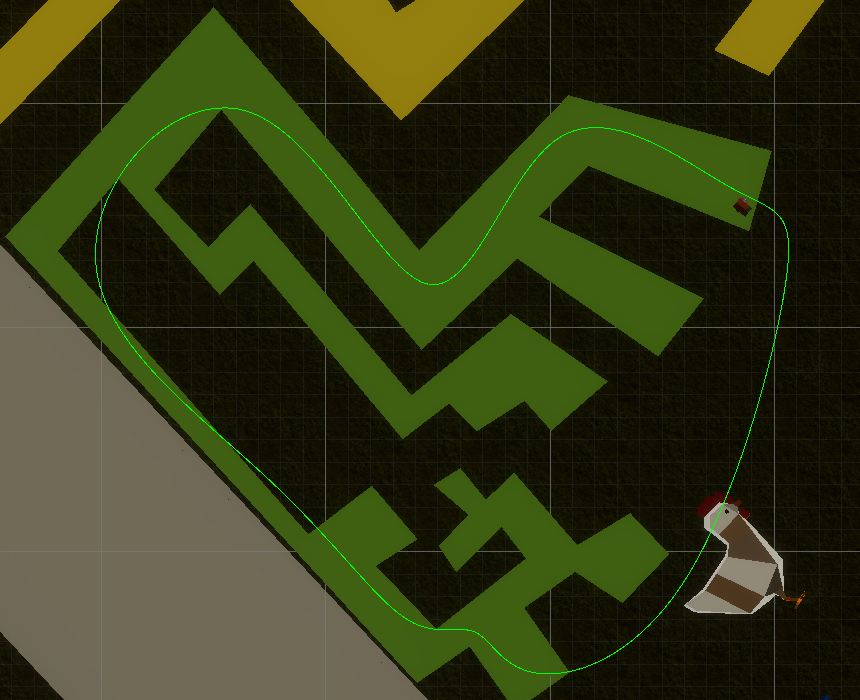
(Dolly path top view)
The last cinemachine camera we played with was the target camera. The aim of the target camera is to keep all targets in its target list in the frame. The target list was created using another cinemachine script. The list was then added to the target camera so that it knew which object to try and keep in frame. Below you can see the camera zoom in as the 4 enemy targets approach the player target , then zoom out again as the player moves away from the enemy targets in an attempt to keep all the targets in the frame.
(Cinemachine target camera)
Post Processing
Now that we had the cameras set up in our scene, it was time to move onto the post processing. Post processing is a technique that is used to change the look of a scene by using effects that are added to the final render of the scene. To add post processing to our scene, we had to download the Post Processing Stack package from the Unity package manager just like we did with cinemachine. After it was downloaded, it was time to add it to the scene and set it up. To add it to the scene, we had to add a Post-process Layer component to our main camera. After this we had to create a dedicated physics layer that would only handle post processing. To do this all we had to do was click the dropdown menu next to layer option in the inspector, select Add Layer, and add in a post processing layer. After it was added, we had to select this layer on the main camera as well as in the post process layer component. To add a global post processing effect that covered the entire scene, we then needed to add a post process volume to the main camera. This component had an option named "Is Global". When checked, it would display the post processing effect globally, when unticked it would only display it in the area specified by trigger collider. After the post process volume was added, we had to create a post process profile. This profile would keep all the post processing effect settings we decided to use. To create a new profile, we needed to click 'New' next to the profile option on the post process volume component and a new profile was created for us. After this, we were finally ready to start adding post processing effects to our scene.
The first post process effect we added was a vignette which darkens the corners of the screen. There were various settings to change the size, intensity and colour of the vignette but I settled for a noticeable yet subtle black vignette.
(No Vignette)
(Vignette applied)
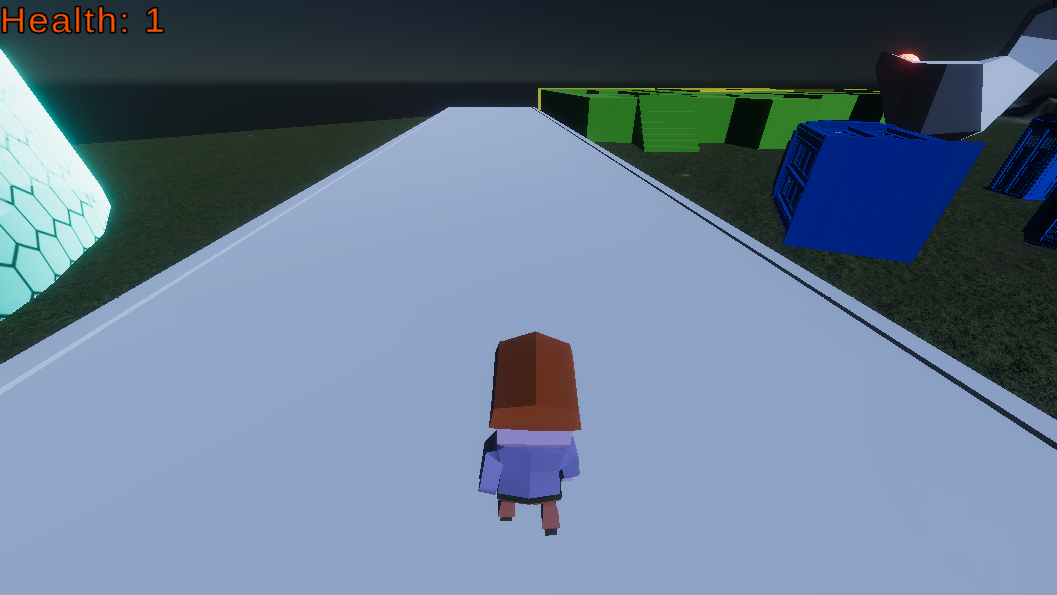
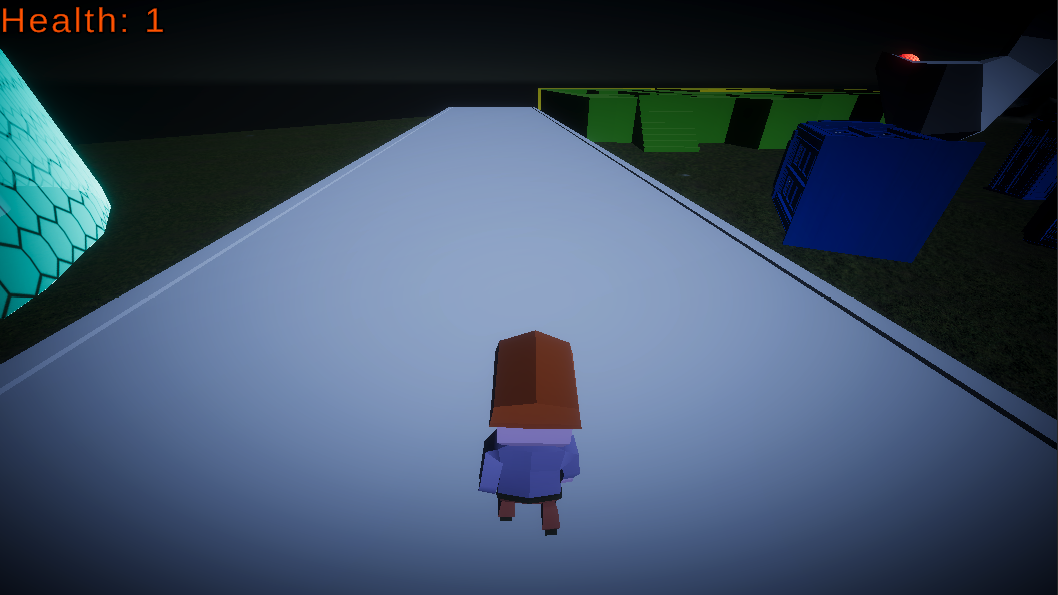
The second post processing effect we had to create was a local darken effect which would darken the whole screen while the player was within its area. To create the area that would contain the effect, we had to create a new 3D post processing volume object. We then scaled the object to suit the area we wanted. We also needed to set the layer of this object to the Post processing layer like we did with the previous effect. We then created a new profile for this effect and added a 'Colour Grading' effect to it. In this effects settings, there was an option to adjust the Post-exposure (EV) levels. I reduced this level to around -3 to give the darkening effect. In the gif below you can see that when the player approaches the building (which is now surrounded by a force field), the screen darkens, and when the player leaves the area, it lightens.
(Local darken effect)
Unfortunately I couldn't line up the darken effect exactly with the border of the forcefield as Unity does not let you scale sphere colliders out of the set ratio.
The last task was to create a custom post processing effect which allowed us to add a grayscale effect to the scene. To create the custom effect we followed a guide. Basically, we were required to create a new C# script and a new Shader object. We then copied and pasted the relevant code into the script and shader. After this, the new effect we created appeared in the post processing effects profile, listed under the custom option. Below is a demonstration of the grayscale effect being scaled from 0 to 100% and back again.
(Grayscale effect)
In the process of creating this devlog, I learned how to use cinemachine to quickly create different cameras to suit different situations and how to use post processing effects to adjust the look and feel of a scene. I have no doubt what I learned will come in handy while I finish the rest of this unit.
Leave a comment
Log in with itch.io to leave a comment.